Don’t pull your own hair out in frustration when you can’t get your 3D model’s hair to look just right! We’ve said it before and it’s worth saying again: working with hair in 3D is tough. Even experienced veterans of 3D art are known to get frustrated over woes around creating 3D hair for their characters. That said, you don’t need a team of professional 3D artists to master creating 3D hair!
Realistic hair or even exaggerated hair for stylized looks is crucial to getting a humanoid character to look right. Hair is a great way to communicate the character and personality of your 3D model, so we understand how important it is to get your hair just right in Daz Studio and beyond.
Creating 3D Hair
We want to share a powerful tool that works with Blender, a free open-source modeling software, which can help you create your very own unique hairstyles. With practice, an artist could definitely create hair worthy of selling in the Daz store with this tool. This is a third-party add-on for Blender called the Hair Tool for Blender.
The add-on’s independent developer, Bartosz Styperek, has created a number of tools for Blender, which have garnished over 600 reviews to date. The tool has great documentation, Discord server support, and several online tutorials from various artists as well.
You can download and purchase the tool here.
If you want a free alternative, you can learn how to create your own hair inside of Daz Studio, by following the tutorial we shared in a previous blog post: 3D Modeling and Styling Realistic Hair in Daz Studio.
Install the Hair Tool Add-On for Blender
Whatever software you choose to use for creating your 3D hair, there is going to be some level of a learning curve involved. If you are familiar with Blender already, then using the Hair Tool Add-on for Blender might feel really intuitive to you.
In case you are unfamiliar with how to get a third-party add-on up and running in Blender, we will walk you through the necessary steps first. Once you’ve downloaded the add-on to your computer, you will need to extract the folder. Then, with Blender open, navigate to Edit > Preferences > Add-Ons.
Click on Install and find the location of the folder you extracted containing the Hair Tool.
Once selected, Blender will automatically install it. All you have to do is be sure to check the box next to the tool so that it activates properly inside Blender’s interface.
Verify that the add-on is loaded properly when you see the Hair Tool appear in the panel on the right side of the workspace.

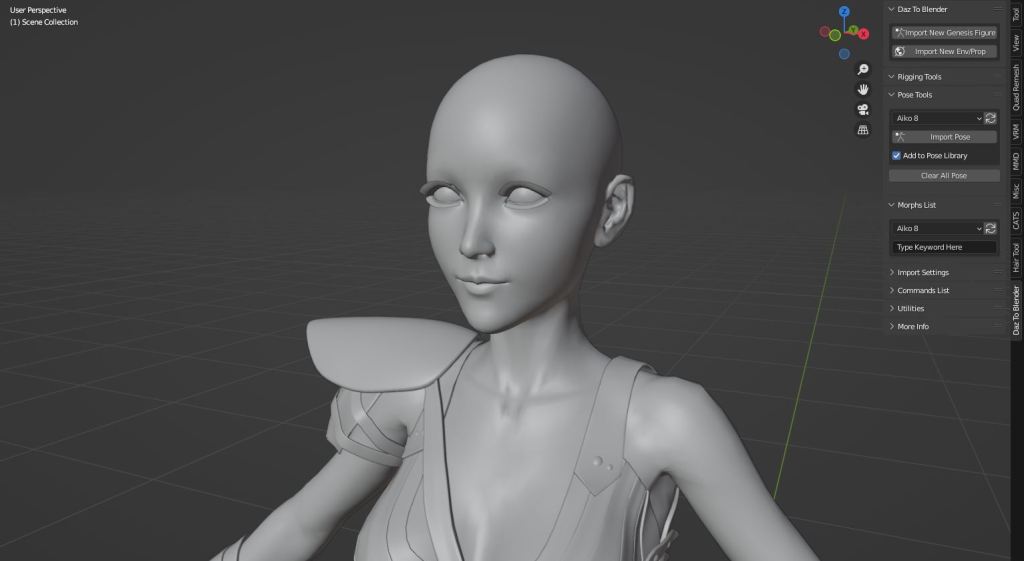
Use the Daz to Blender Bridge to Bring in a Character
Once you’ve got the Hair Tool add-on up and running, before you can properly create your 3D hair, you’ll want to bring a Daz character into Blender. If you are unfamiliar with creating a character in Daz Studio, visit our helpful introductory videos here.
The easiest way to bring a character from Daz Studio to Blender is to use our official Daz to Blender Bridge. You can access the bridge through your DazCentral account. With the latest version installed, go ahead and open up Daz and create your character. We will create a character without hair since we plan on creating custom hair in Blender!
Creating characters in Daz Studio is fun and easy with access to thousands of modular assets that feature compatibility with almost every figure. For this example, we chose to work with Aiko 8 and the full Bandit Sarah Outfit.

Once your character is ready, export it to Blender using our Bridge. If you haven’t yet, open Blender, and like you did with the Hair Tool Add-on, navigate to Edit > Preferences > Add-ons and search for “Daz to Blender.” Be sure to check the box to enable the add-on.
Now when you look at the sidebar of tools, you will see Daz To Blender on the list. Clicking on it will open the Daz Bridge’s menu. Click on Import New Genesis Figure and Blender will automatically import the Daz character you created!
Create Basic Hair Shapes in Blender with Planes
One of the coolest features of this Hair Tool for Blender is how easy it is to create custom hairstyles. As the artist, you will create the basic shapes and sections of the hair by creating individual planes. At this stage, you don’t need to worry about the individual strands of hair themselves. The tool and texturing will take care of this. For now, you just need to create the general shapes.
It is really helpful to study references for the kind of hair that you want to create during this stage. Try to separate the hair into clumps and think in terms of layers. Depending on the hairstyle, we recommend creating 2-3 layers of hair. With each layer, the shapes will become more spread out and more detailed. The lowest layer predominately is for shaping, while preceding higher levels are intended to add detail and style.
Using a layering technique will help you avoid hair that feels flat and two-dimensional. It will add volume and style to your design that will not only look better but also help avoid the scalp of your character showing through, an effect which can also make the end result look worse than you’d like.
These planes are referred to as Hair Cards.
An easy way to do this is by adding a sphere to the scene, sizing it properly to fit the size of the head, then manipulating this sphere from there to create the desired basic hair shape you envision for your character.

Once you’ve created and sized the sphere, it is easy to start blocking out and separating the different hair shapes into their own objects.
Generating Hair Curves
Before you can turn this basic shape into a head of hair, you will need to mark what is essentially the hairline as sharp. Select this seam and then Mark it Sharp.
Where your hair varies in shape and length, you will want to make sure you take the time to separate each piece into its own individual object. This is also true for individual layers that you may be placing on top of each other.
As you can see, once you’ve blocked out a basic shape and Generated the Hair using the Curves from Grid Surface option, you might end up with something like this:

This basic short bob style is made up of two different hair cards, one for the main shape and one for the bangs. However, this hair would look very flat and two-dimensional. To add further depth, we will continue to layer together more details.

While it may look silly when you are only seeing the hair cards themselves, the important thing is how you have styled the hair into the final look that you want. The separate clumps of hair will add a look of fullness and variety to the hairstyle.

You can shift over to the shading tab to preview how your hair looks and also tweak the color within Blender to get an idea of what your final product might look like in Daz Studio.
There are lots of features included with this tool, so feel free to experiment and see what produces the best results for you. Some settings include the number of strands and how thick each hair strand appears.
Export the Hair Asset as an OBJ
Once you’re finished and satisfied with your hair, all that’s left is to export the hair asset you’ve created as an OBJ so you can bring it back into Daz Studio. There’s no need to bring in the entire character back from Blender to Daz. Simply re-open the scene you originally created the character in and import your new hair asset.
Keep in mind you may need to tweak the position of the hair to get it right where you want it. The best part is, now that you’ve saved it, you can keep it in an easy-to-find location, and continue to use the hair anytime you’d like in any other scene you might create!
You’re Practically a Pro Hair Stylist Now
While there’s no question that perfecting the art of creating 3D hair takes time and practice, hopefully, this has sparked your interest in just one of the many ways you can create hair for your Daz characters.
We understand that learning new programs can be difficult, and there’s certainly a huge learning curve with third-party add-ons in software like Blender. If you aren’t pleased with your results the first time around, don’t worry. The Daz Marketplace has thousands of high-quality hair assets you can choose from, so you’re bound to find something that works for the scene you’d like to create.
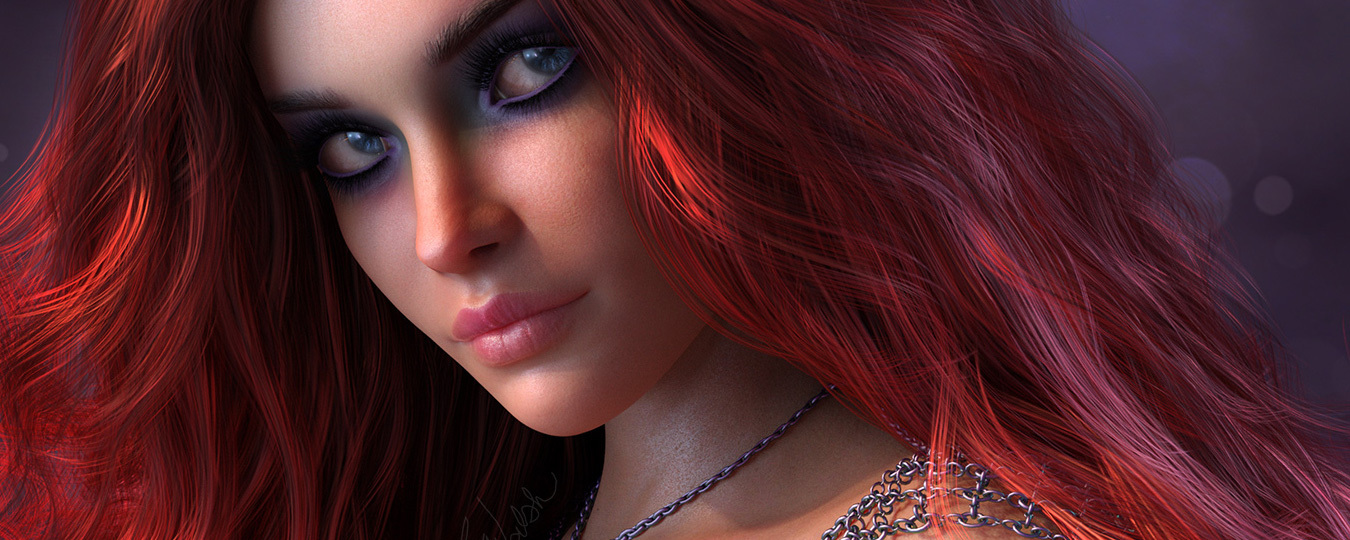
Featured image: “Portrait 41” by Detniat in the Daz Gallery.
Alex Howez says:
very nice post 👍